


For those people who have been using using Virtualdub your my basic go-to video editor for years, you may find that this free open-source video editing program has lots of free plug-ins and it does the basic video editing very well as long as you’re not trying to add fancy transitions and exotic visual effects. The biggest limitation of virtualdub that it only works with AVI format. However, there are still a lot of people complain that they even fail to load certain AVI files into VirtualDub just as the conditions illustrated below:
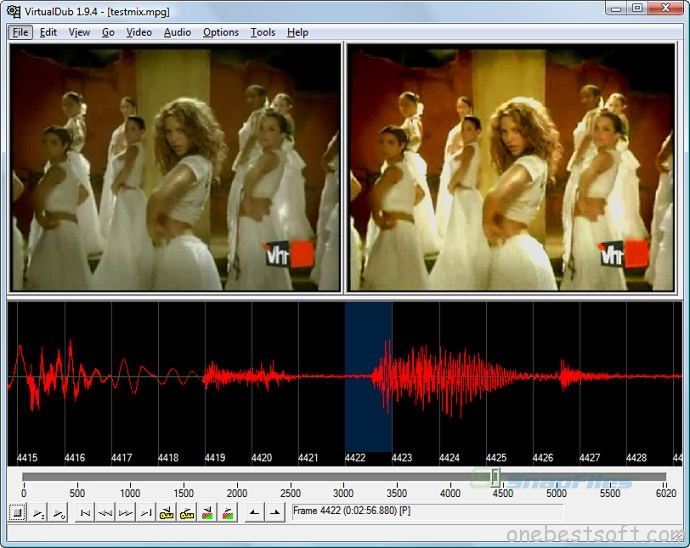
I’m using a program called FormatFactory to convert video files, works pretty well but looks like it have a problem at time to create avi files. When I try to open avi files created with FormatFactory in Virtualdub this message appears…
http://i39.tinypic.com/2u6eoa9.jpg
… the files are encoded using Xvid 1.1.2 and I’ve installed that codec, besides I can open any other avi/xvid that has no been create with FormatFactory in Virtualdub.
More strange is that these avis can’t also be played in WMP9 but I can play any other avi/xvid.
Thanks in advance for any help.
Why fail to load AVI into VirtualDub?
Although VirtualDub is made to operate exclusively on AVI files; however, it is well known that AVI is just a container format which can store video and audio with various different video and audio codec. However, like other free video editing program, VirtualDub also has its own compatible editing codec such as Divx, Xvid, DV, etc, if the AVI files are encoded with other incompatible codec such as MPEG-1, MPEG-2, MPEG-4 (A) SP, H.264/MPEG-4 AVC, VC-1/WMV, Real Video, Microsoft MPEG4 V2, etc, you will fail to load them into VirtualDub.
Import unsupported AVI into VirtualDub
To fix this codec incompatible issue, you can either Create an AVISynth script with the following steps:
1. Install K-lite Codec Pack and update FFDShow
2. Install AVISynth
3. Create an AVISynth Script
Or download different plugins such as Ffmpeg Input Drive or fccHandler, etc to deal with different video and audio codec.
If you are looking for an easy yet effective solution, you can convert the unsupported AVI to VirtualDub natively compatible Divx AVI or Xvid AVI with our powerful yet simple to use application – Pavtube Video Converter Ultimate (best video converter review), which has enhanced media compatibility with all the incompatible AVI codec listed above, you can swiftly produce VirtualDub editable AVI file formats in just few clicks. For advanced users, feel free to adjust the output profile parameters such as video codec, bit rate, frame rate, resolution, audio codec, bit rate, sample rate and channels to make them fit with VirtualDub.
Edit AVI with built-in editing package tool
Apart from converting AVI for VirtualDub, the program can also act as a simple video editor alternative to VirtualDub. You can use this program to flip or rotate video, trim or cut video files to remove unwanted parts or segments, crop video to remove the unwanted black bars or area, merge separate video into one, add image/video/transparent text watermark to video, apply special rendering effect to video, flip or rotate video angel, remove/replace audio in video, add external srt/ass/ssa subtitles to video, split large video into small clips by file size, count or length.


Step by Step to Convert AVI for Editing with VirtualDub
Step 1: Load AVI files into the program.
Install and launch the AVI to VirtualDub converter program on your computer, click “File” > “Add Video/Audio” or “Add from Folder” to load unsupported AVI files into the program.

Step 2: Choose output file format.
Click “Format”, from its drop-down option, choose VirtualDub supported AVI format such as “Divx AVI – Audio Video Interleaved (Divx)(*.avi)” or “Xvid AVI – Audio Video Interleaved (Xvid)(*.avi)” under “Common Video” main category.

Tips: You can flexibly adjust the output video codec, bit rate, frame rate, resolution and audio codec, bit rate, sample rate and channels according to your own needs.
Step 3: Edit AVI video.
Check an item to active the “Video Editor” function, then click the pencil like icon on the top tool bar to open the “Video Editor” window, you can trim video length, crop video black bars, add watermark, apply sepcial rendering effect, remove/replace audio in video, etc.

Step 4: Begin AVI to VirtualDub conversion process.
After all settings is completed, hit right-bottom “Convert” button to begin the conversion from AVI to VirtualDub conversion process.
When the conversion is completed, you can click “Open Output Folder” button to get the output files effortlessly, and now you will have no problems to import and edit AVI files with VirtualDub.


