Apple TV is a tiny digital media player which allows you to enjoy a whole world of movies, TV shows, sports, music, and more. It should be the NO.1 choice to sync videos from computer to big Screen HDTV for watching on your couch. This article will show you to two simple ways to stream Video from Mac to Apple TV in detail: iTunes or AirPlay Morning.
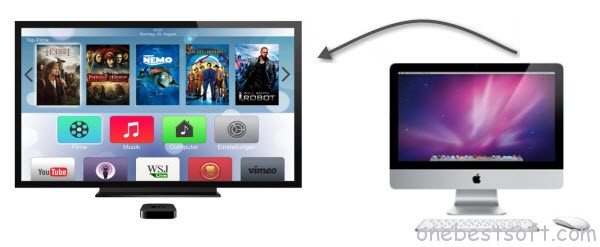
1. Using iTunes
If you’re wanting to watch any movies or TV shows that you have in your iTunes library, streaming them via AirPlay is incredibly easy to do.
Step 1: Start Playing Your Video
Open iTunes and select the movie or TV show that you’d like to watch and then hit Play.
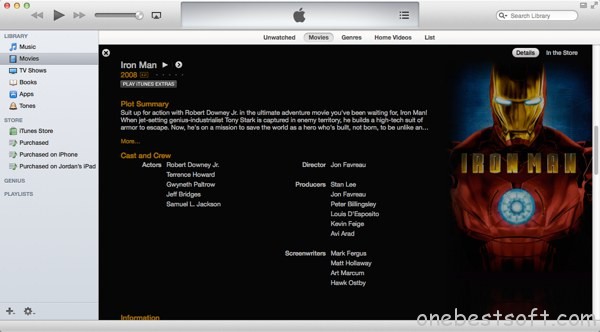
iTunes provides native AirPlay support for any video files you may have within your library.
Step 2: Set AirPlay Destination
Once the movie has started, select the AirPlay menu from the toolbar at the top and select your Apple TV. After a few moments, you should see the video appear on your TV and iTunes will display the device you’re currently connected to.
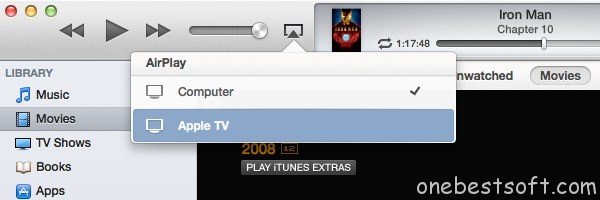
The AirPlay menu displays any AirPlay-enabled devices you will have on your network.
Alternatively, you can also select the AirPlay menu from the playback toolbar that displays when you hover your mouse over the video playback.
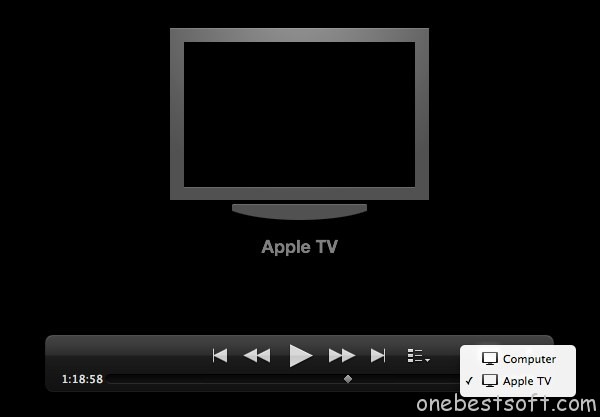
You can toggle AirPlay from the playback toolbar.
Editor’s Note:
As you can see, playback of video from iTunes is incredibly easy. Whilst iTunes only supports a certain number of video formats, you may find it the best option if you’re happy to convert any incompatible video files first using an app before importing.
Of course, some free video converting tools such as Handbrake or MPEG Streamclip can do you a favor, however is you want to find a perfect one to do conversion, here we introduce this smart Mac Apple TV Video Converter- Pavtube iMedia Converter for Mac.
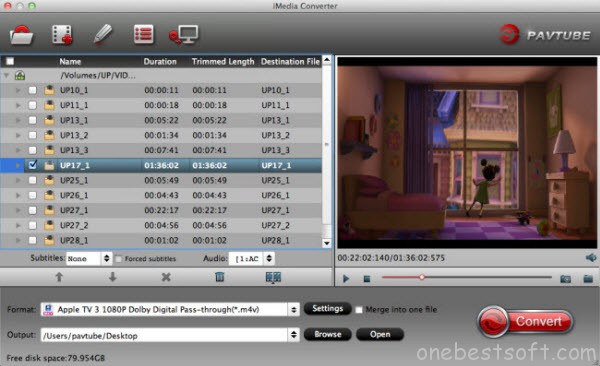
With it, you can not only convert any video like FLV, MKV, AVI, WMV, VOB, MOV, TiVo, MOD, etc to Apple TV compatible format– M4V, but also transcode any music files like WMV, OGG, AC3, AIFF, FLA, MKA, etc for playback on ATV effortlessly. Download it and follow the steps here to do conversion. And after that, you can import the converted videos into your iTunes library for syncing.
2. Using AirPlay Mirroring
Introduced in Mountain Lion and supported on Macs that were introduced in mid-2011 onwards, OS X is now able to mirror what we see on our Mac’s display to our Apple TV, including audio. If nothing else, we can use it to watch any type of video content we want via our Apple TV.
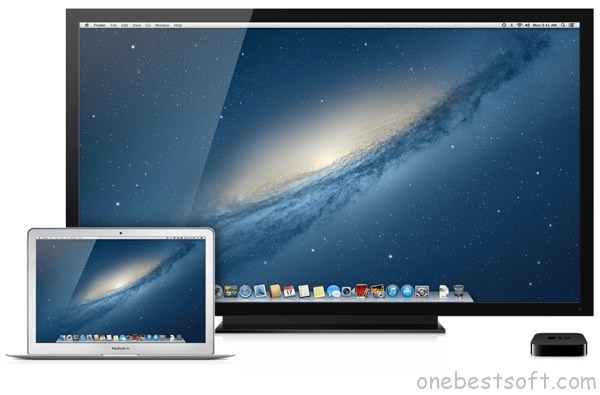
AirPlay Mirroring lets you mirror your Mac’s display on your TV.
Step 1: Activate AirPlay Mirroring
AirPlay Mirroring can be turned on using either the menu bar icon or via the Displaypreferences in System Preferences.
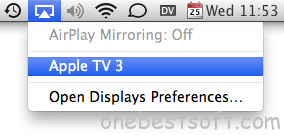
AirPlay Mirroring can be activated via the menu bar.
When activated, you can select if you want to match the Apple TV’s display resolution to what your Mac currently has or if you’d prefer to match your Mac’s display to your Apple TV.
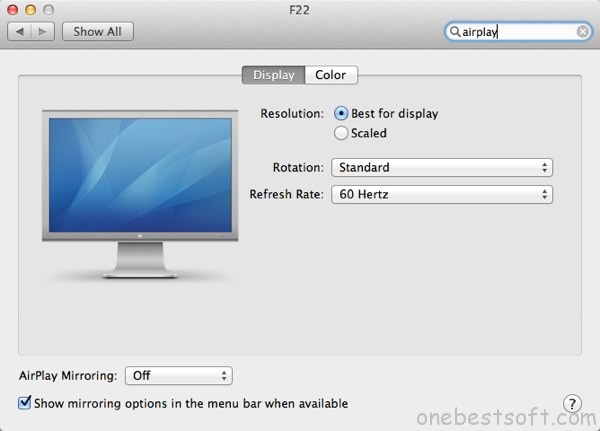
AirPlay Mirroring can also be managed via System Preferences.
If you select the first option, your Apple TV won’t actually match the resolution, instead it will simply emulate it as your Mac is capable of much higher resolutions than most televisions.
Selecting the second option will reduce your Mac’s display to the same resolution as your Apple TV currently outputs, making everything seem bigger.
Step 2: Play Your Video
Now that we’re mirroring our Mac’s display, anything you do on your Mac is also shown on your Apple TV, including video playback. Audio is also sent to your Apple TV so if you start watching a video, you’ll hear the audio through your TV and not your Mac, which may be in another room.
AirPlay Mirroring is the best all-round solution as any video your Mac can play will be seen directly on your Apple TV, too. The downside is that your Mac can’t be used so if you’re someone who likes to browse the web whilst watching a video, this may not be the ideal solution.
What’s more, streaming movies from Mac to PlayStation 3 and Chromecast are not so difficult.


